
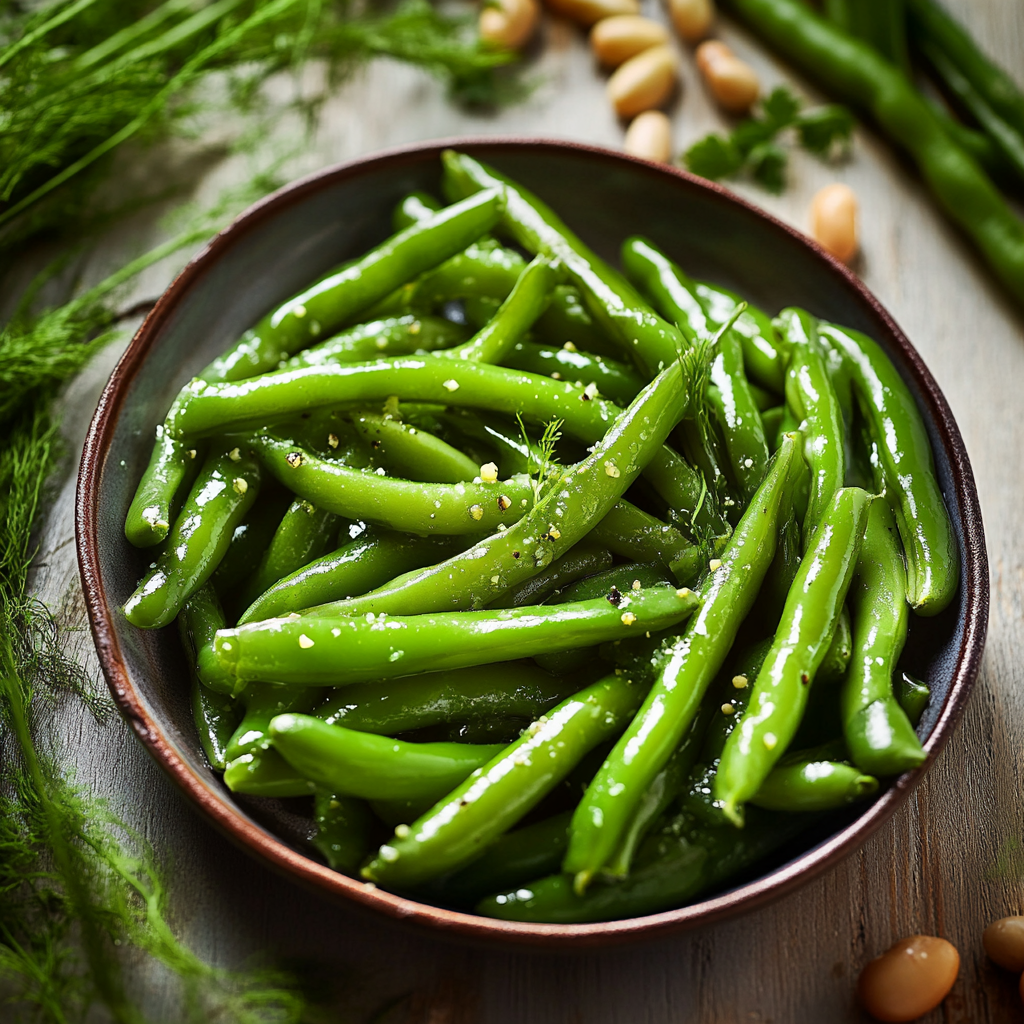
Dilly beans are like the cool kids at a summer picnic—crunchy, tangy, and oh-so-refreshing. Picture this: you’re lounging in the sun, a plate of these vibrant green beans beside you, their zesty aroma dancing in the warm breeze. One bite, and BAM! It’s a flavor explosion that makes your taste buds do a little happy dance. You might even find yourself fighting over the last bean with your best friend because let’s face it; nobody wants to miss out on that delightful crunch!

The first time I made dilly beans, I was trying to impress my family during a backyard barbecue. The moment they tasted those zesty bites, my cousin declared them “the best thing since sliced bread.” Talk about pressure! Now, I make them for every gathering, and they always disappear faster than the potato salad. Whether it’s summer picnics or cozy winter nights, dilly beans fit right into any occasion. Get ready for an amazing flavor experience that will have everyone asking for your secret recipe.
Why You'll Love This Recipe
- Dilly beans are incredibly easy to prepare and perfect for canning or enjoying fresh
- Their vibrant green color adds visual appeal to any dish or table setting
- The tangy flavor profile perfectly complements BBQs and picnics
- Versatile enough to serve as a side dish or snack anytime!
I still remember how my aunt raved about my dilly beans at our family reunion last year—they were gone in minutes!
Essential Ingredients
Here’s what you’ll need to make this delicious dish:
-
Fresh Green Beans: Choose bright green, firm beans for the best texture and flavor. Trim ends before use.
-
White Vinegar: Opt for distilled white vinegar; it adds the ideal tang without overpowering the flavors.
-
Garlic Cloves: Fresh garlic enhances the flavor profile brilliantly. Use whole cloves for intense taste.
-
Dill Sprigs: Fresh dill provides that signature aroma and taste; don’t skimp on these fragrant sprigs!
-
Red Pepper Flakes: Add these for a touch of heat—just a pinch can elevate your dilly beans.
-
Sugar: A small amount balances the acidity from vinegar perfectly; it’s all about harmony!
-
Water: This is essential for creating that lovely brine mixture; filtered water works best.
The full ingredients list, including measurements, is provided in the recipe card directly below.
Let’s Make it together
Start by preparing your green beans: Wash them thoroughly under cold water and trim off both ends. This step is vital for keeping them crisp during cooking.
Next up, create your brine: In a saucepan over medium heat, combine equal parts of water and white vinegar along with sugar and salt. Stir until dissolved and bring to a light boil.
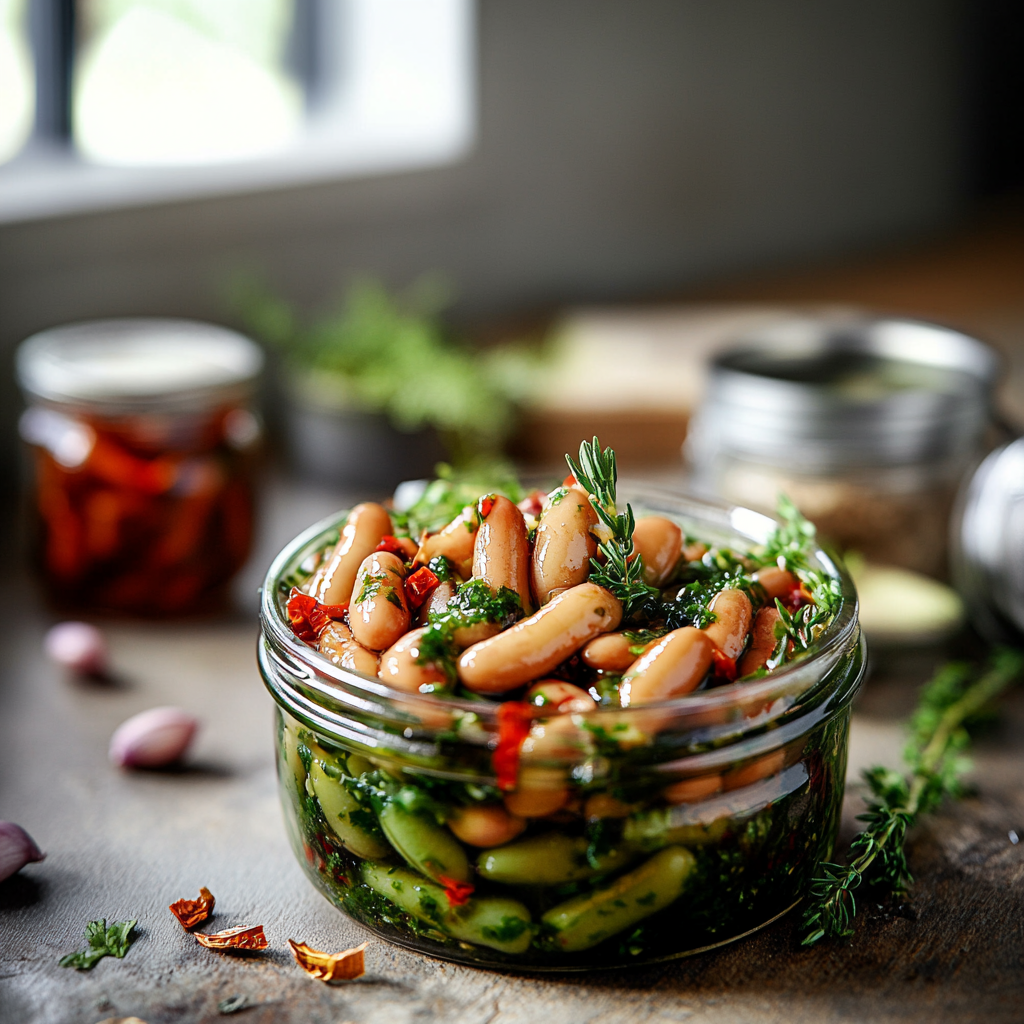
Now it’s time to pack those jars: Place fresh dill sprigs at the bottom of each jar followed by garlic cloves and red pepper flakes. Then layer in your prepared green beans vertically—try to pack them snugly without squishing!
Pour hot brine into each jar until filled just below the rim—this ensures they stay submerged while cooling down. Seal tightly with lids and allow them to cool completely on the countertop.
Finally, refrigerate your jars for at least 24 hours before indulging—this allows all those flavors to mingle beautifully! Enjoy your dilly beans straight from the jar or toss them into salads; they’ll be irresistible!
Now you know how to make dilly beans like a pro! These crunchy delights are not just food but an experience—a burst of freshness packed into every bite!
You Must Know
- Dilly beans are not just a side dish; they can elevate any meal with their crunchy texture and tangy flavor
- The vibrant colors and zesty aroma make them a delightful addition to your summer picnics or winter feasts
- Plus, they’re super easy to make!
Perfecting the Cooking Process
Start by blanching the beans in boiling water for 3 minutes, then plunge them into an ice bath. This method preserves their vibrant color and crunch while setting the stage for pickling.
Add Your Touch
Feel free to swap garlic for shallots or add fresh dill if you want an extra punch of flavor. Experimenting with spices like red pepper flakes can also spice things up!
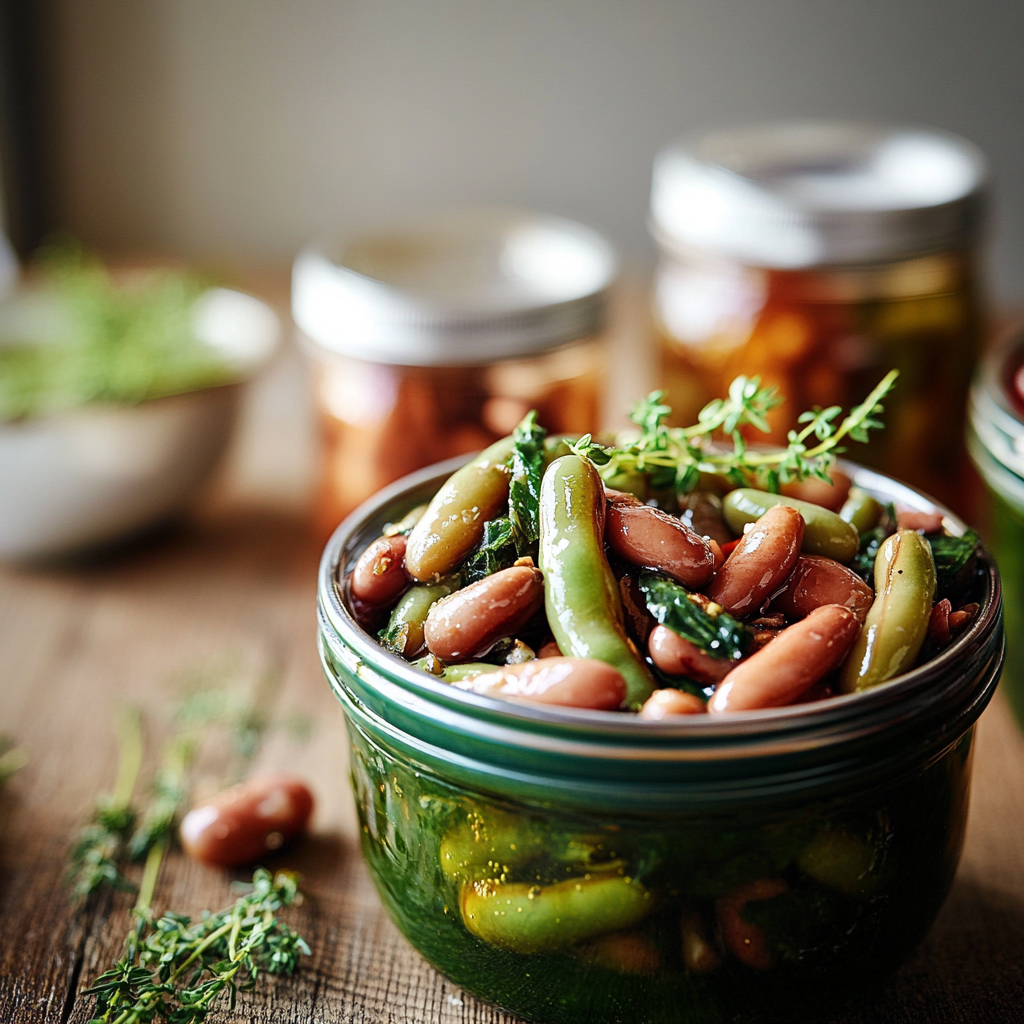
Storing & Reheating
Store your dilly beans in airtight jars in the refrigerator for up to two weeks. For a quick snack, no need to reheat—just grab and enjoy straight from the jar!
Chef's Helpful Tips
- To achieve that perfect crunch, ensure your beans are fresh and snap when bent
- Don’t skip the ice bath; it’s essential for maintaining color and texture
- Finally, let them sit for at least 24 hours before tasting!
Sometimes I whip up a batch of dilly beans as a last-minute gift for friends. The smiles I get in return are priceless and remind me why I love cooking!
FAQ
What are dilly beans?
Dilly beans are pickled green beans flavored with dill, vinegar, and various spices.
How long do dilly beans last?
When stored properly, dilly beans can last up to two weeks in the fridge.
Can I use other vegetables instead of green beans?
Yes! You can substitute cucumbers or carrots for a fun twist on this recipe.
Dilly Beans

Dilly beans are a vibrant and zesty treat perfect for summer picnics or cozy gatherings. These crunchy pickled green beans, infused with fresh dill and a hint of spice, deliver an explosion of flavor in every bite. Easy to prepare and delightful to enjoy straight from the jar, they are bound to impress your family and friends. Get ready to elevate your snacking game with this refreshing recipe!
- Prep Time: 15 minutes
- Cook Time: 10 minutes
- Total Time: 25 minutes
- Yield: Approximately 4 servings 1x
- Category: Snack
- Method: Pickling
- Cuisine: American
Ingredients
- 1 lb fresh green beans, trimmed
- 1 cup distilled white vinegar
- 1 cup water
- 3 cloves garlic, whole
- 4 sprigs fresh dill
- 1 tsp red pepper flakes (adjust for heat)
- 1 tbsp sugar
- 2 tsp salt
Instructions
- Blanch green beans in boiling water for 3 minutes, then transfer to an ice bath.
- In a saucepan, combine vinegar, water, sugar, and salt; bring to a light boil until dissolved.
- Pack jars with dill sprigs, garlic cloves, red pepper flakes, and blanched green beans.
- Pour hot brine into jars just below the rim; seal tightly.
- Cool completely at room temperature before refrigerating for at least 24 hours.
Nutrition
- Serving Size: 4 oz
- Calories: 45
- Sugar: 2g
- Sodium: 300mg
- Fat: 0g
- Saturated Fat: 0g
- Unsaturated Fat: 0g
- Trans Fat: 0g
- Carbohydrates: 9g
- Fiber: 3g
- Protein: 2g
- Cholesterol: 0mg